The construction of the house is inevitably associated with resolving the issue of arranging flooring. Proper flooring affects the health status as well as the performance of laying hens. In addition, the air quality in the room, the ease of cleaning the chicken coop, and the presence or absence of rodents in it depend on the floor. In this article we will talk about how to independently lay the floor and how to care for it.
The functions of the floor in the coop
The main functions of the flooring in the house include:
- protective (the flooring should protect the birds from moisture and rats all year round, and in the winter months also from dampness and frost);
- heat insulating (in winter, a positive temperature should be maintained in the barn, as this is the only way to maintain a high egg production of laying hens);
- supporting (supporting).
Did you know? Hens are imprinted on coins of 16 countries and are absolute leaders among numismatic bird species.
Primary requirements
The flooring in the chicken house must be laid according to certain requirements. Consider what it should be:
- Safe. From the flooring, first of all, this concerns the wooden version; pointed parts (nails, fittings) that can injure birds should not protrude.
- Long lasting and durable. The base of the chicken house should hold multi-level buildings with nests.
- Eco-friendly. The use of polyvinyl chloride is unacceptable, since this material may become moldy. In addition, plastic releases toxic substances into the atmosphere.
- Must have water repellent properties. Liquid bird droppings will systematically affect the surface of the floor. Therefore, the final step in the manufacture of the floor should be its coating with moisture resistant impregnations.
- Must have low heat conductive properties and a layer of insulation, in winter to maintain a positive temperature in the home and exclude chicken disease from hypothermia.
How to make a floor with your own hands
When wondering what it is better to equip the flooring in the house, consider the features of the entire structure, the climate of the area and your financial capabilities. We suggest you familiarize yourself with the most successful floor coverings, which will help you decide which option is best for your pets.
Earth (ground)
This type is optimal for houses without a foundation, when the walls are fixed on four load-bearing beams, dug into the ground at the corners.
So, for laying a dirt surface you will need:
- pieces of roofing material (you can replace linoleum or other waterproof material of your choice);
- fine gravel;
- shovel;
- wide-nailed nails;
- hammer.
Important! When burying the roofing material into the ground, make sure that it bends in the direction from the house. 10-20 cm of cardboard should be applied to the wall.
The sequence of steps for laying an earthen surface:
- Outside (around the perimeter of the barn), dig a moat with a depth of 0.3 to 0.5 meters. The ditch should be close to the walls.
- Fix pieces of roofing material on the walls outside so that the lower part of the cardboard is in the groove, and the upper part falls on the wall. Fasten pieces of roofing material with nails.
- The next stage of the funnel with roofing material is covered with earth.
- Tamp and level the soil inside the house, while removing debris and weeds.
- Pour gravel from above, mixing it with the outer layer of soil.
- Level the ground again and tamp. Make the surface perfectly smooth does not work, but try to achieve the maximum effect.
- Spread the litter.
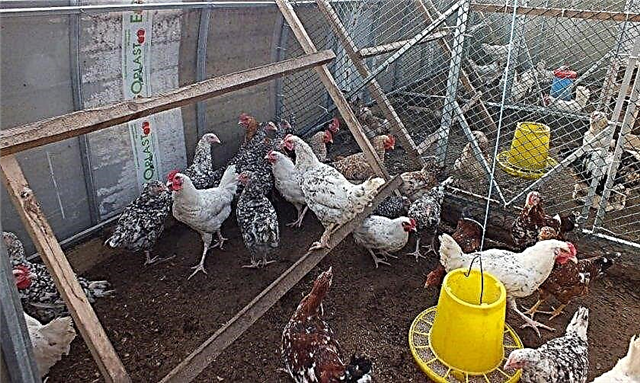
Wood
It is desirable to lay the wooden floor at the stage of erection of the barn. For such a surface, a columnar or strip foundation is required. To lay the wood on the foundation, the builder needs to stock up:
- a bar of wood with a section of 200x200 mm;
- a bar of wood with a section of 200x100 mm;
- a board 20 mm thick and 10-30 mm wide;
- hydrophobic solution (can be replaced with drying oil or varnish);
- insulation (mineral wool, polystyrene foam or bundles of dried straw);
- nails and a hammer;
- steel mesh;
- wire;
- self-tapping screws and a screwdriver;
- steel brackets.
Let's move on to the step-by-step instructions on how to make a wooden base:
- On the pillars of the foundation, install a supporting block around the perimeter and fasten in the corners with brackets on the screws.
- On a supporting block, install a base of steel mesh, securing it around the perimeter with bent nails.
- Along the perimeter, install a 200 block with a 100 rib and attach with brackets to the supporting beams so that part of the beams is shown inside the house (to fix the lags).
- Inside the grid, lay a 200 to 100 bar edge as lags every 0.5 meters.
- The logs are pinned to the support bar with long nails (120 mm), driving them at a slight angle.
- Then treat all wood parts with hydrophobic liquid and leave to dry.
- In the area between the lags on the grid, lay the insulation and press it against the grid with wire.
- Nest the top cover boards to the lags.
- In addition, treat the base with a hydrophobic liquid, and after drying, treat with lime.
Video: how to make a wooden floor in a chicken coop
Wood provides some protection against parasites if you repair and block any gnawing boards. The disadvantage of wood is that it can retain moisture. Moreover, even in the forest, ticks could settle in the tree, and it is very difficult to eradicate them.
The wood surface itself is warm, but if severe frosts are expected, this will not be enough. Therefore, in winter, wood is not the most reliable material.
Important! Care of a wooden surface consists in a systematic check of corners and joints with the wall for the presence of rodents (there should not be characteristic holes in the wood). Whenever replacing bedding, lime should be re-coated. Avoid contact of the heat insulator with the ground, as this is fraught with the appearance of rodents.
Concrete
Materials and tools necessary for work:
- shovel;
- gravel or gravel;
- wooden plank stops;
- drill;
- for the preparation of concrete - one part of cement, four parts of sand or small gravel;
- wooden levelers.
- Remove the top layer of the earth (20-30 cm).
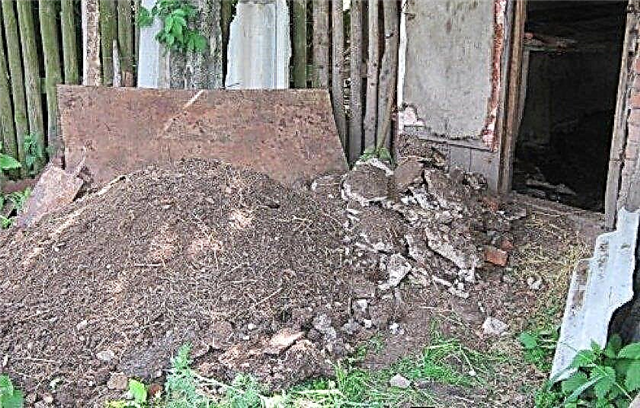
- Pour gravel or gravel into the floor space with a layer height of 10–20 cm.
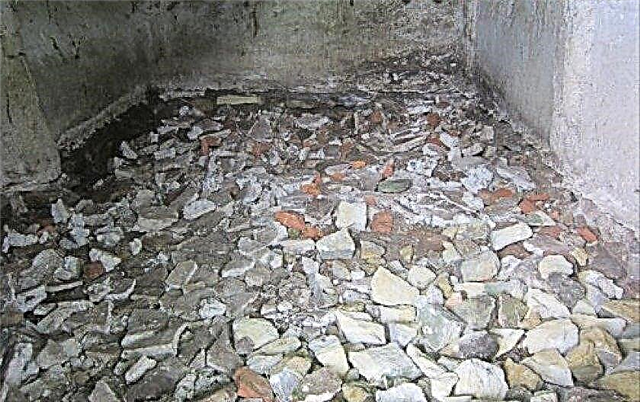
- Fix the stops from the wooden planks around the perimeter of the structure if there are gaps between the walls and the ground.
- Pour cement mortar with sand or small gravel.
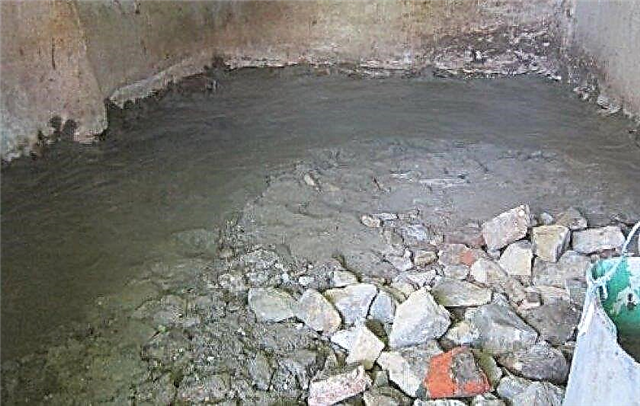
- Level the surface with wooden levelers.
- Allow the concrete to dry completely (it will take 2-3 days), then remove the limiters.
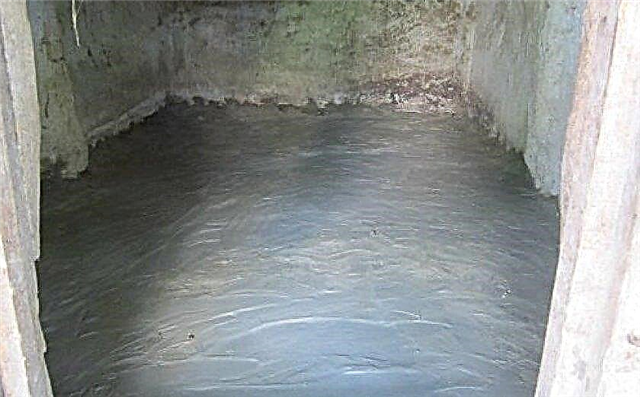
Concrete is guaranteed to protect the structure from rodents. The concrete surface is easy to keep clean and easy to sweep. In the summer season, the coating remains cool, which is a significant advantage. However, in the winter months, birds will feel cold. A rubber mat will isolate the concrete surface from the cold. For chickens it is necessary to lay an additional layer of litter.
Did you know? The “oldest” chicken on Earth was 14 years old.
Ticks do not start on the concrete surface, moisture or odors are not retained. If the birds have any ailment, you can easily get rid of all the litter, then clean the chicken coop from dust and sanitize the floor and walls.
In recent years, a method of raising chickens on a mesh floor has been popular among farmers. Its construction begins with laying a dense, well-compacted surface. The base is made of concrete with a slight slope.
As for how to lay a concrete base, it can be sawdust, wood shavings or peat. The mesh surface itself is made of boards. The structure is a kind of frame on which a grid is fixed on top. The most durable and stable galvanized mesh is considered.
How to insulate the floor in the chicken coop
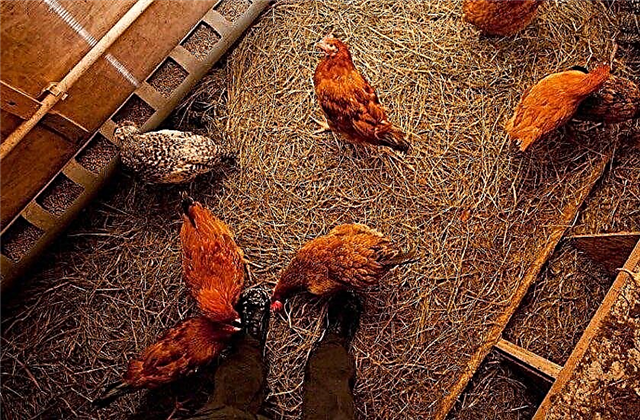
High-quality insulation of the flooring in the house allows it to last much longer. Warming is carried out with the help of deep and shallow litter. Even in winter, the litter in the barn maintains a temperature index of +16 ... + 18 ° C without the use of electric heaters. Most poultry farmers provide their wards with a deep litter.
They make it from raw materials of natural origin (dry sawdust, hay and straw, moss peat or dried grass). First, sprinkle the flooring with hydrated lime for disinfection, and then cover with a layer of the selected material about 15 cm thick.
The litter can not be changed throughout the year, but according to the degree of pollution it is necessary to add new layers of insulation, eventually increasing the thickness to 25 cm. In addition, the litter must be periodically loosened. If it is very damp, then sprinkle it with superphosphate - 0.5 kg per 2 square meters. m
Video: how to insulate the floor in the chicken coop
Having taken into account the above recommendations when planning the floor for the chicken coop, you will become the owner of a very functional structure that will last for many years.


